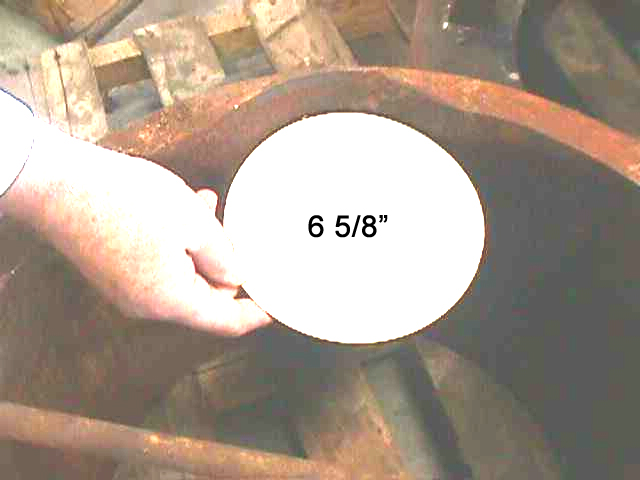
Not many examples of casing wear are retrieved from field operations. Pulling casing is expensive, and if the damage can be nullified by running and cementing an intermediate casing liner, rather than pulling the damaged string, that will probably be done. As ever, if there are two possible solutions to a field operational problem, the least expensive one will be implemented.
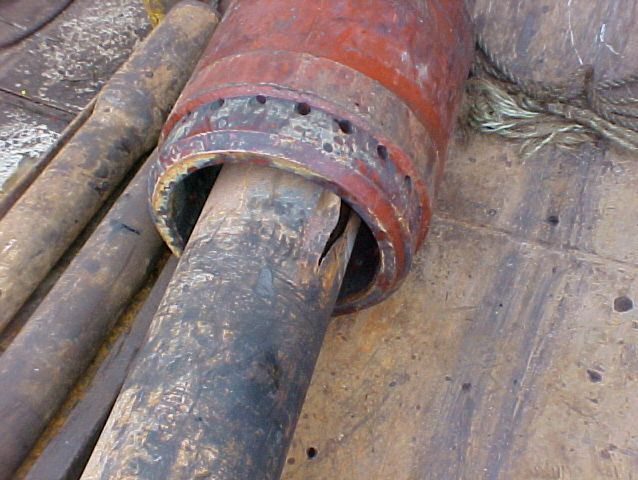
Figure 1 shows a typical liner failure. Wear is greatest at the top of the liner, and decreases as you progress downward. If wear continues long enough, the liner wall thickness is reduced to the point where the burst strength of the thinned wall is less than the internal pressure. The resulting burst is a tapered opening, largest at the top of the liner, tapering downward.
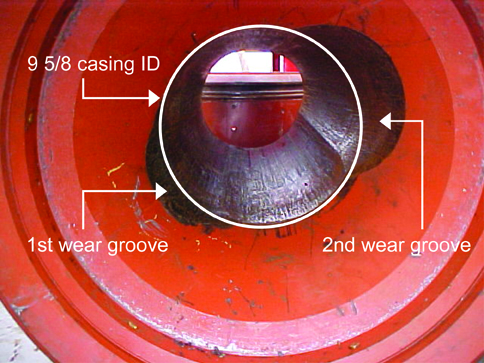
Figure 2 shows two wear grooves in a liner hanger wear bushing. After inspection revealed the first wear groove, the bushing was rotated 180 degrees before being reinstalled, thus resulting in the formation of the second wear groove.
Casing or riser wear occurs where the borehole either changes direction (dogleg or a flex joint) or diameter (top of a liner).
Dogleg severity can be determined from a directional survey of the well. With dogleg severity and drillstring tension, the lateral load on the casing can be calculated. This allows casing wear as a function of well depth to be calculated.
Where we deal with a change of well diameter - such as at the top of a liner - we have no reliable way to calculate lateral load. Therefore, we assume the worst and install wear bushings at the top of liners.
Figure 2 demonstrates the value of a wear bushing. Better the bushing should wear, rather than the top of the liner hanger.
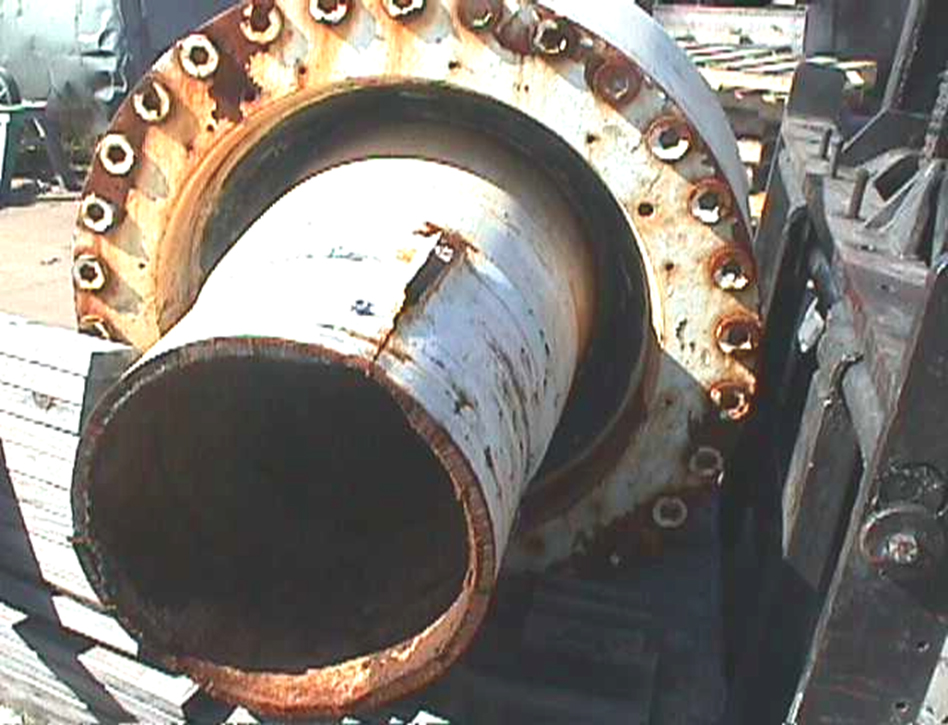
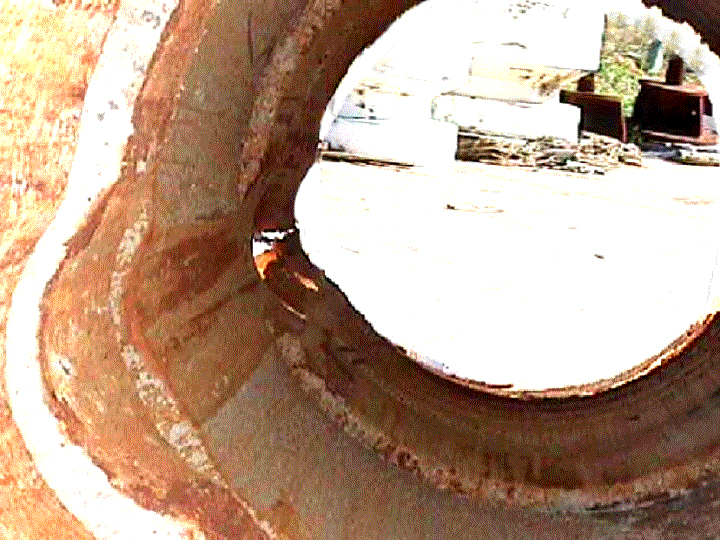
Figure 3 shows the split resulting from burst failure at the top of a flex joint. This failure occurred in a section weakened by internal wear. Internal view of this split is shown in Figure 4.
Figure 4 is a view of the split shown in Figure 3, looking from the inside out.

