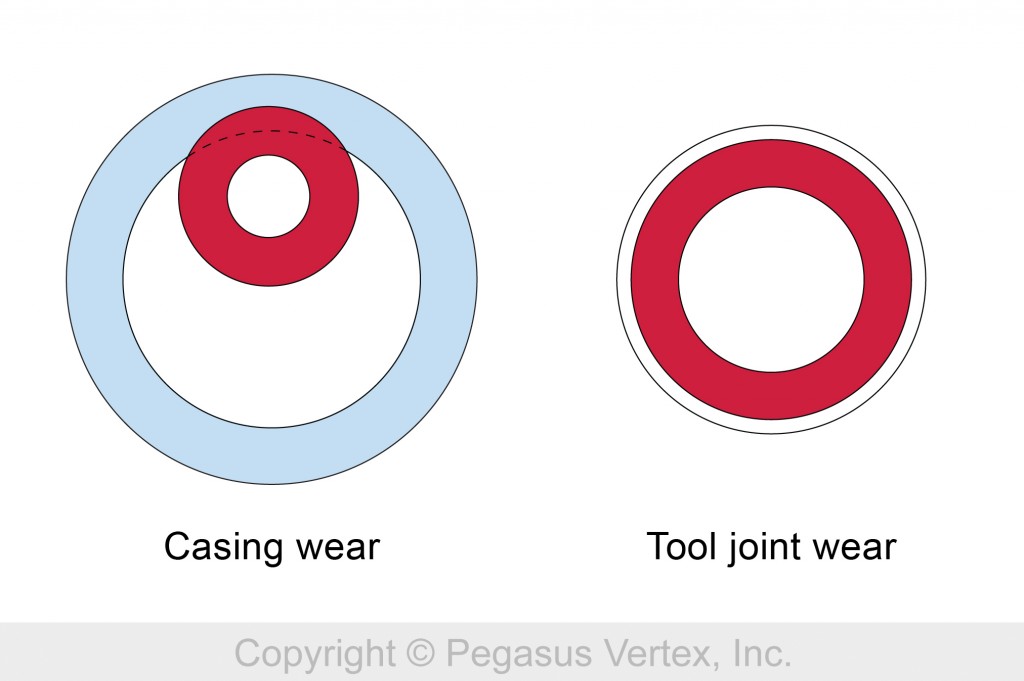
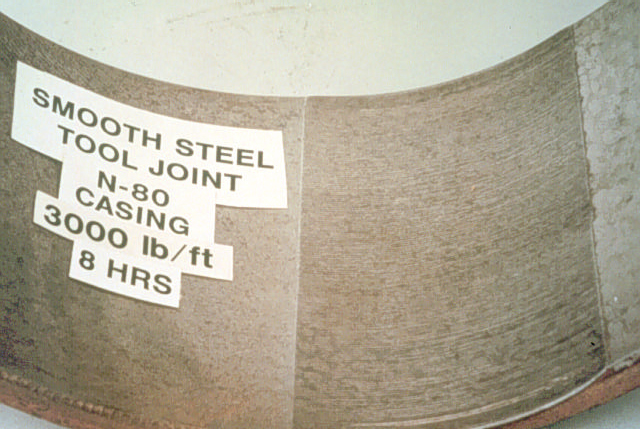
During the 15 years covered by these Drilling Engineering Association studies, more than 450 casing wear tests were run. Each test required an elapsed test operating time of 8 hours. Each test would be interrupted after the first 15 minutes, then after elapsed time of 30 minutes, 2, 4, 6, and 8 hours to measure the width and depth of the casing wear groove. Such a casing wear groove is shown symbolically in Figure 2, and Figure 3 is a photograph of an actual casing wear groove. Tool joint wear was measured only after the conclusion of the 8 hour test time. Intermediate measures were not possible due to the very small amount of tool joint wear - usually 0.005 inches, or less, of diametrical wear. Measurement uncertainty was estimated to be ±0.0005 inches.
9 5/8 inch, 47 lb/ft. N-80 casing was chosen to be the baseline standard against which wear systems would be judged. At this time ( 1991 ), N-80 casing was the most commonly used tubular in oilfield operations. The standard tool joint was machined from AISI 4145 steel, and the baseline mud system was a 10 ppg, water-based mud carrying 7% by volume of Clemtex #5 sand.
All test operations were performed manually. Several attempts to automate test operations were unsuccessful. Satisfactory precision in the recorded data could not be achieved.
The original Drilco test machine was purchased by the National Oil company of China and a duplicate copy of the machine is now being operated by Ken Malloy of Mohr Engineering. Casing wear testing is available on a commercial basis from Mohr Engineering.


